|
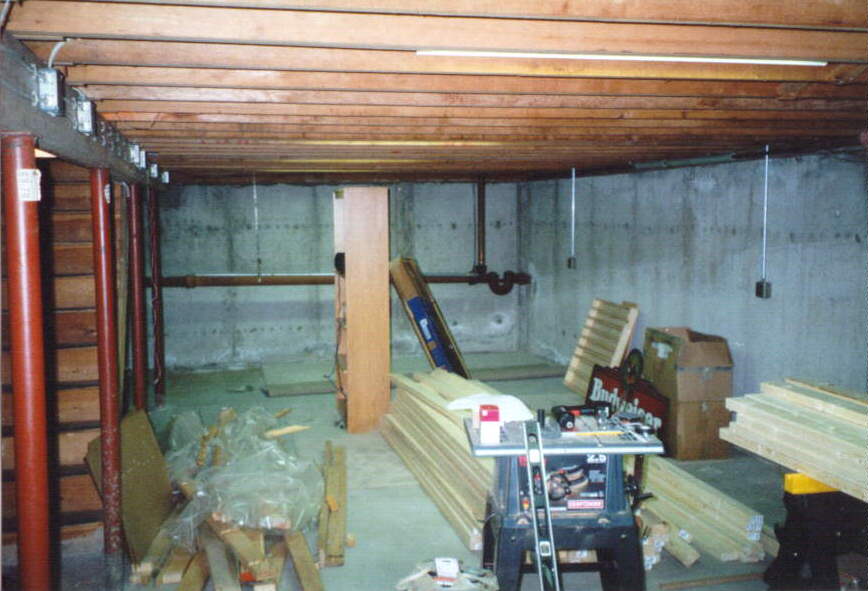
Laying in supplies. We
used 7 foot 2x4 stud lumber to do the framing - it required quite a
bit of wood. In the background is the furnace which was hidden
by creating a wall the full width of the house. This also gave
us a good sized storage area and hid the electrical panels and water
main pipes. |
 |
The
original "laundry room". We had not even finished
unpacking before we started this project. The washer & dryer
came with the house along with that big nasty steel desk. We cut
up the desk with the saws all to get it out to the trash. |
 |
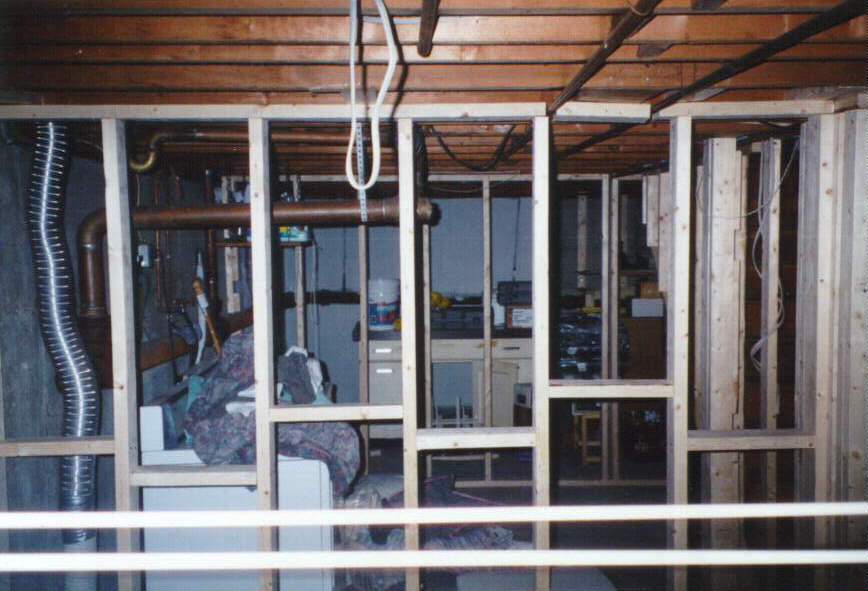
The
frame starts to take shape. Thanks to Tom for the use of his
table saw and to Jeff for the saw horses. |
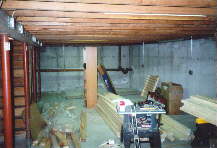 |
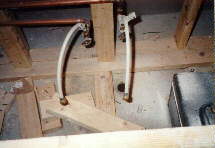
A
view facing east towards "Septic Falls" - this is where the
bar will eventually be. The waste pipe will determine the height
of the back bar shelving. The trap and vent were covered in
framing and a small (13") TV was placed on the wall in that
corner. |
 |
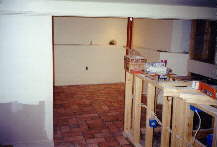
Facing
the laundry room from within the office. |
 |
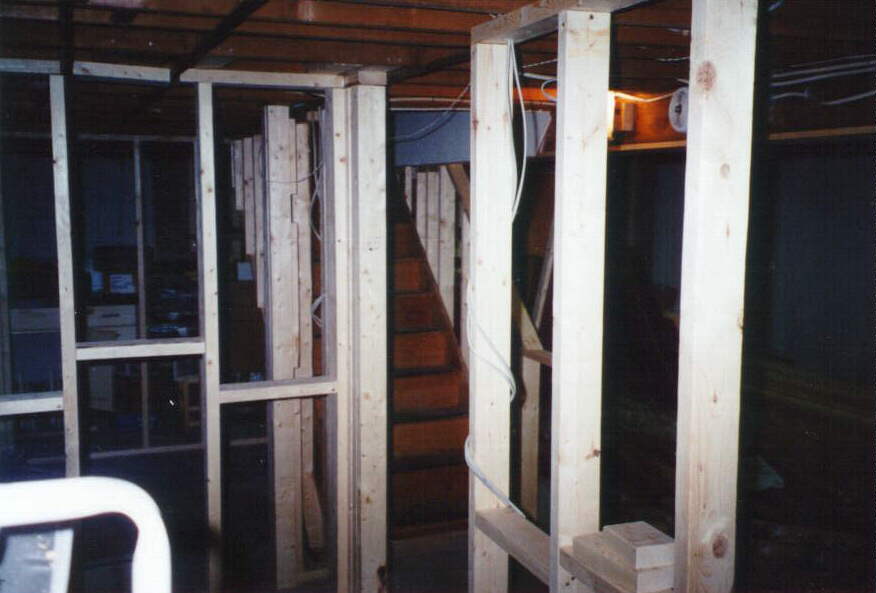
Framing
out the stairway. |
 |
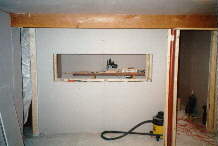
Framing
out the back-bar area and around the waste pipe trap and vent.
An access panel was placed in the wall to give a plumber access to the
trap if necessary. |
 |
A
view from inside the office looking up the stairs. This was
before we were given the fish tank so the wall on the right is a
simple wall instead of the large closet it will soon become. |
 |
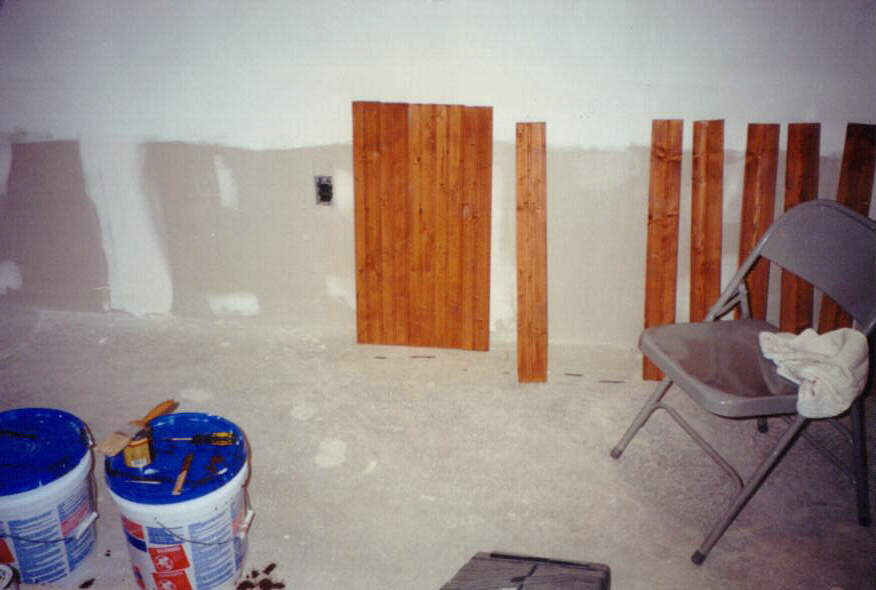
The
dart corner framed and sheeted. The walls were painted with a
special water-proofing treatment to reduce moisture. The framing
provided a small shelf that runs the length of the wall. The
shelf hides and supports the waste pipe that runs the length of the
wall. We used plastic sheeting on all exterior walls to block
moisture. |
 |
A
view facing west of the framing. Note the window that will soon
be installed in the office. This is the only accessible window
in the basement. The other two are in the storage room. |
 |
Putting
up sheetrock in the dart corner. |
 |
Rocking
the stairwell. |
 |
The
sheetrock is almost finished! What a mess. Note how the
floor has changed color. Even after sweeping and mopping several
times, the floor never stopped being white from the sheetrock and
spackle dust. |
 |
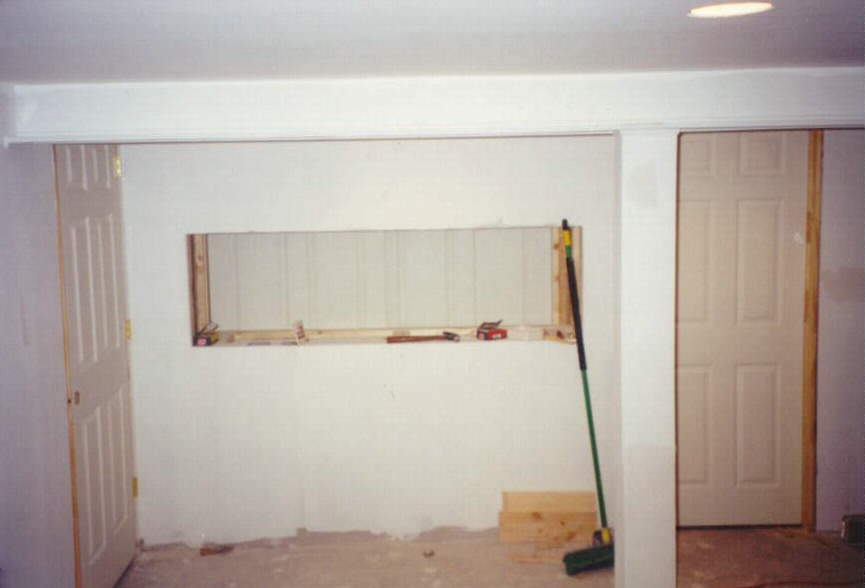
The
opening for the fish tank. The tank was given to us by a friend
who no longer wanted it. She didn't give it to us until we had
already finished the wall so some re-working had to be done. The
frame for the base of the tank is doubled up 2x4's and 2x6's - it had
to support the weight of 150 gal. of water (1200 lbs) |
 |
Oooooh...
Dooors... We also covered up the support pipes and put some nice
trim molding on the shelf that runs along the header. |
 |
The
bar woodwork was saved for last - we didn't want the dust and dirt to
mess up the wood. Note the double sink waiting to be installed. |
 |
Getting
ready for the fish tank. |
 |
An
organized workspace is the key to success - not! |
 |
Fish
tank is now in place. |
 |
This
shows the access panels we put in the ceiling above the back
bar. There was a termite problem many years before we bought the
house and the exterminator needed access to these rafters. It's
also a convenient way to run audio and video cables to the corner TV. |
 |
Plumbing
is in place for the bar sink. You can just see the hole for the
drain. |
 |
A
back view of the fish tank. We put closet doors up to cover the
back but still make it accessible. |
 |
Ceramic
tile floor in the dart area and in front of the bar. |
 |
Ceramic
tile in front of the bar. Note the tile cracking tool to crack
(instead of cutting) the tile to fit. Next time we'll get a tile
saw! |
 |
Preparing
the wainscoting. The walls had already been primed and
painted. Each piece of wainscoting was about 4 inches wide, each
had to be put up separately tongue and groove style, and each piece
had to be stained before being put up. |
 |
There
were several hundred pieces. Note the wood outlet covers,
stained to match the wainscoting. |
 |
Big
Ed the nail gun man - this project would have taken a much longer time
without my friend Ed's professional advice, help, and power tools. |
 |
Another
shot of Ed muttering curses at us and the wainscoting. |
 |
Holy
crow! I think that's me, merrily staining the chair rail molding
for the top of the wainscoting. |
| The
Finished Product |
 |
The
finished product - just before our first party (Mardi Gras,
2000). This is my shot glass collection in shelves built by and
given to me by my brother for Christmas. He gave them to me
unfinished and we stained them to match. |
 |
The
bar. Way cool. |
 |
The
entertainment center, circa 2000. |
 |
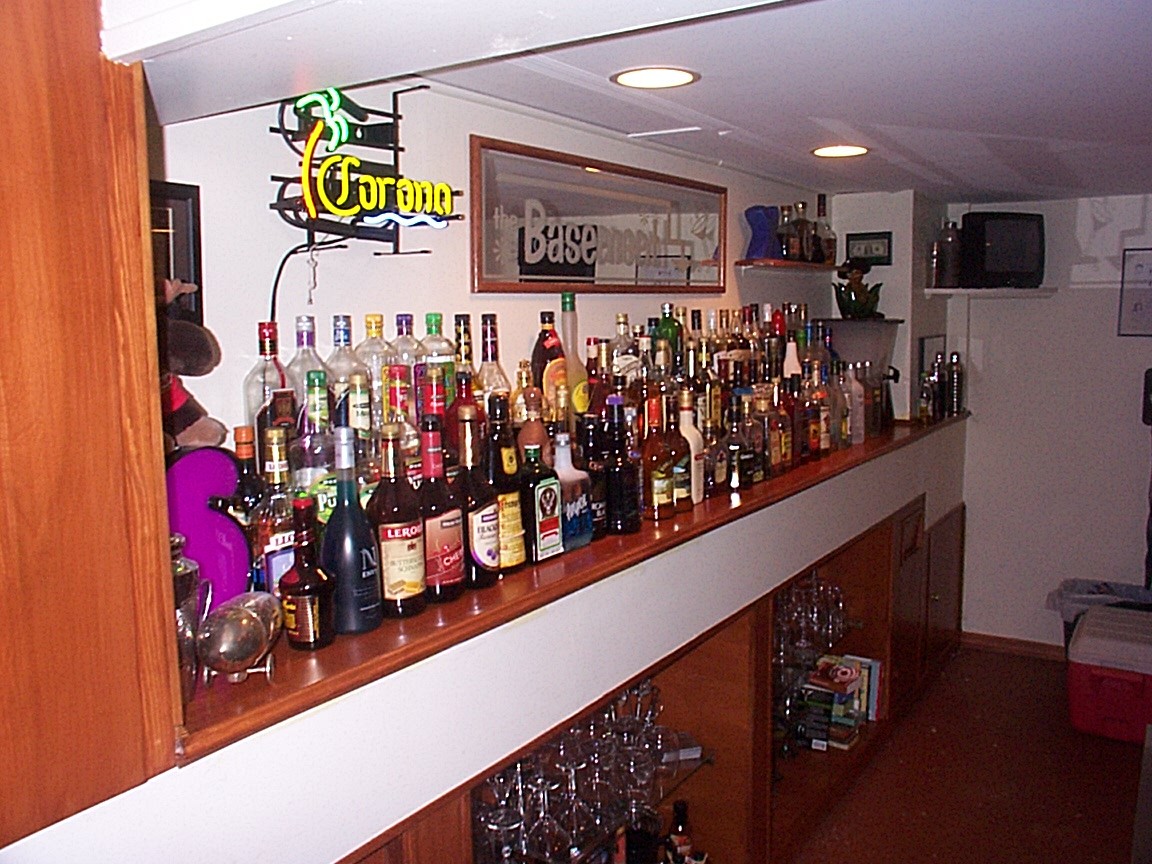
The
back bar |
 |
The
under bar counter with mixers, microwave, blender, etc. |
 |
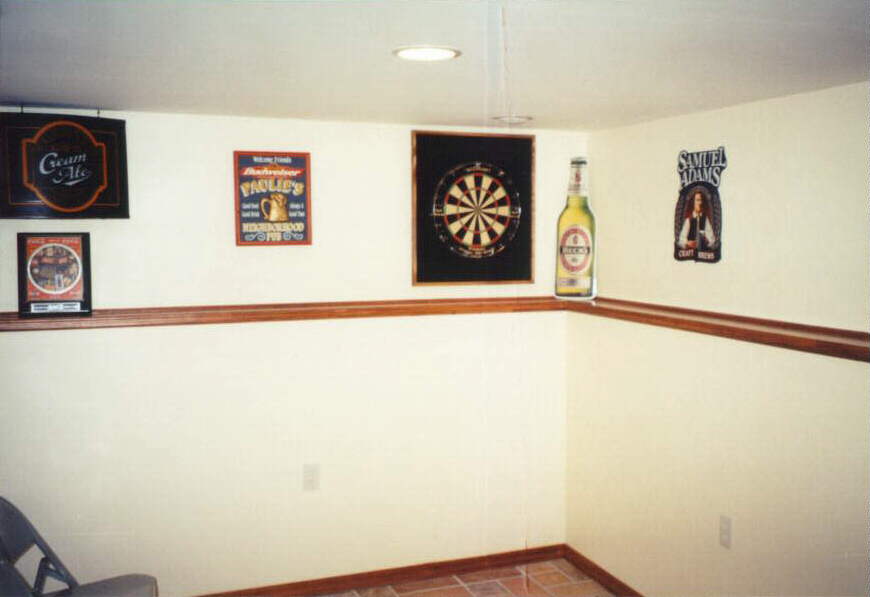
The
dart corner. |
 |
The
wine rack and the digital touch-screen jukebox. |
| The
Basement 2004 - Here are some new photos. Look what we've done
with the place |
 |
A
lot more liquor and some nice new chairs. The chairs are by
Whittaker |
 |
A
view of the dart area with the new cocktail table, more chairs and (temporarily)
a treadmill. |
 |
Now
that what I'm talkin' about! The nice 60" Mitsubishi
projection screen TV surrounded by a nice wall unit from Furnikit.
The shelf for DVD's I built myself. |
 |
Many
more bottles - I've even added an extra shelf up high. |
 |
A
view down the length of the bar. |
|
|
|
|
|
|
|
|
|
|