Interworld
Software
Smarter than the Average
Ware
39 Goeller Ave
Huntington Station, NY 11746
|
Interworld
Software |
39 Goeller Ave Huntington Station, NY 11746 |
|
BarBack The Basement Framing Drink-Up-Date
|
Framing
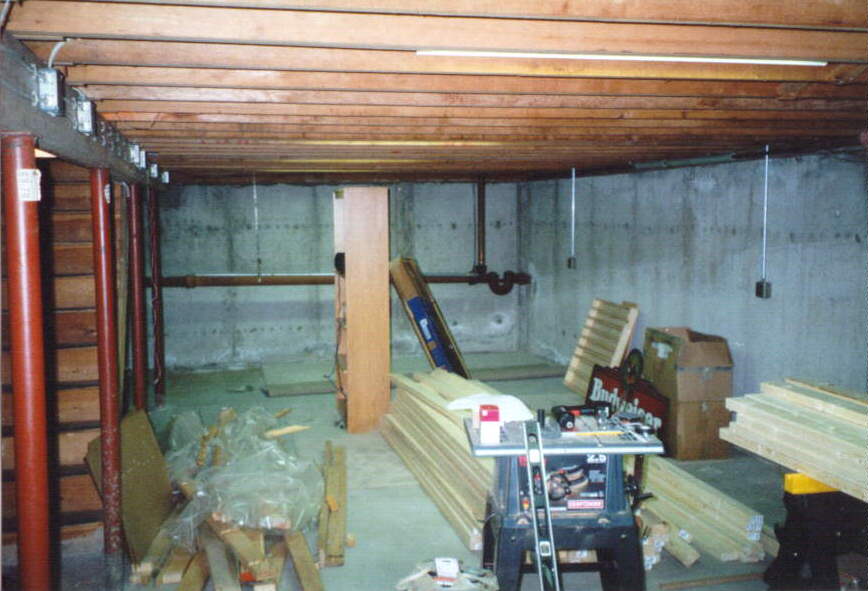
To frame the bar and the rest of the basement, we used standard 2x4 stud lumber and framing nails. Before framing out the bar we needed to know how big the cooler and the sink were going to be: The Beer Chiller - I chose a True model TD-50 Horizontal Bar Cooler that is 50" x 261/2" x 33 1/4" (W x D x H) The Sink - For the bar sink, I chose a Kohler stainless steel double bowl sink. Once we knew the size of the sink and the cooler, we could frame out the bar.
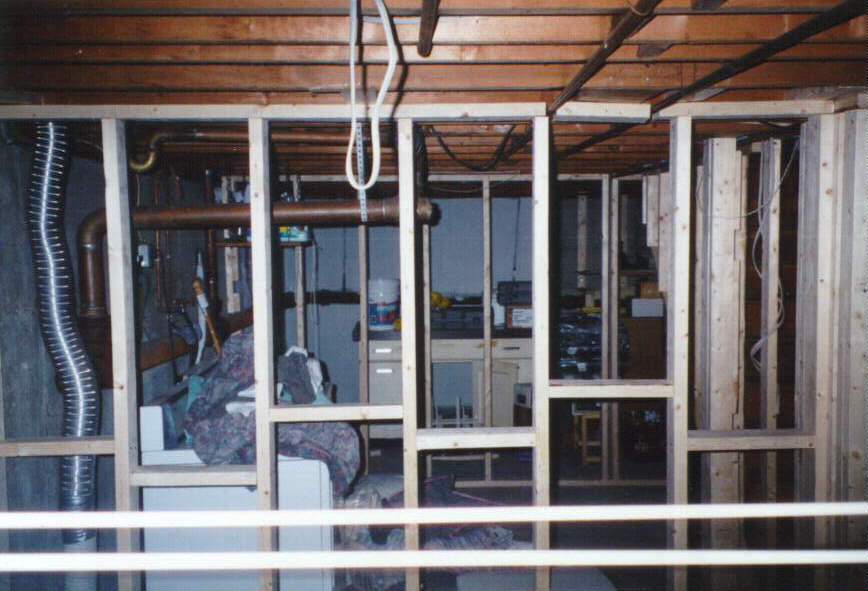
Along the back bar there is a drain pipe leading out to the septic tank. In the far right corner, there is a cleanout and a vent attached to the pipe. To accommodate these, we framed around them and included an access hatch (covered by a hanging picture) to gain access to the drain pipe cleanout. The rest of the back bar is framed out to give a flat area on top, even with the bar top, for liquor display. Underneath the back bar is an open area to hold glass shelves for display and storage of glassware. Because of the supports needed for the top of the bar, the under bar is separated into three compartments. The first, to the right, is for the sink. The middle one will hold the microwave, bartending tools, mixers and the blender. The last compartment is sized to hold the beer chiller and does not have a counter. Under the counter in the other two sections will be storage space with sliding doors installed. Additional Photos (click to enlarge):
|